-
Your shopping cart is empty!
Download Printable Version (PDF)
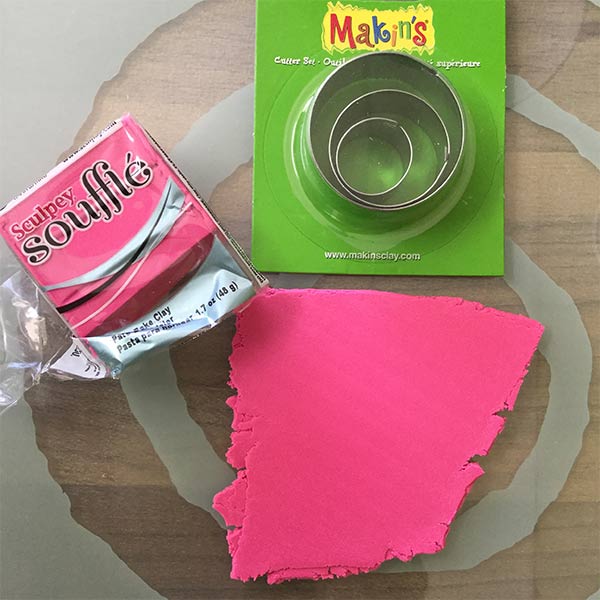
Start by conditioning your Polymer Clay, instructions can be found in one of our other tutorials. For this lesson we are using a pasta machine to condition our clay, so our clay sheet will be exactly the same thickness.
Step 2
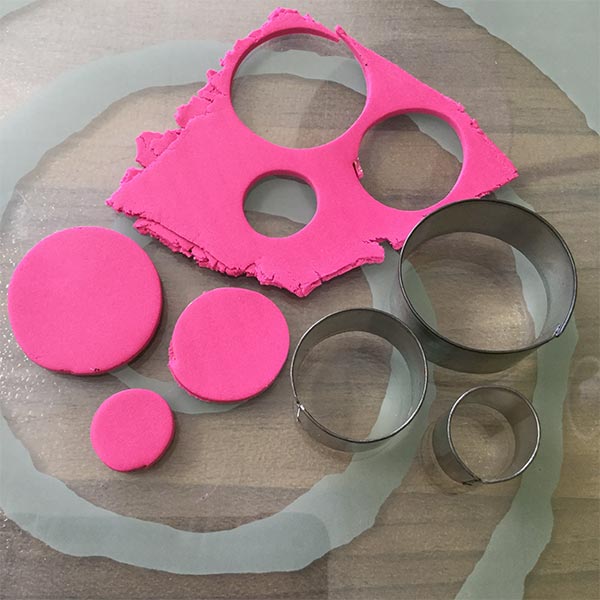
I find the easiest way to get your beads all the same size is by using a clay cutter. So long as your clay is the exact same thickness you will then get an even sized bead. Here I am going to make three different sized beads.
Step 3
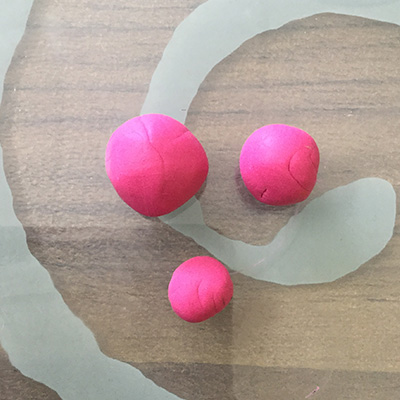
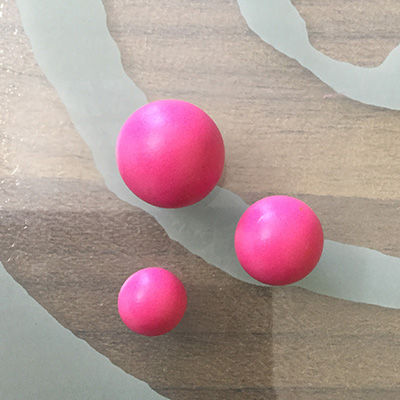
When you have cut out your circles of clay, then use your fingers to squish each piece of clay into a ball shape.
The trick to getting nice hand rolled beads is to hold your lower hand low and stationary with your palm up. Place the clay in your palm and with your other hand, make small circles until you have a nice round ball.
Step 4
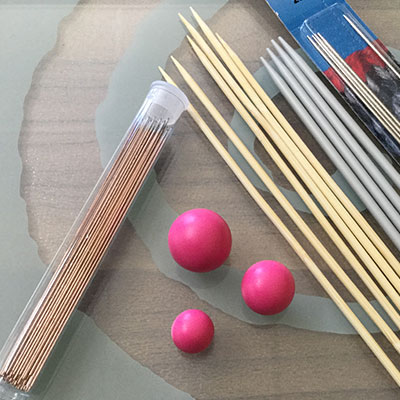
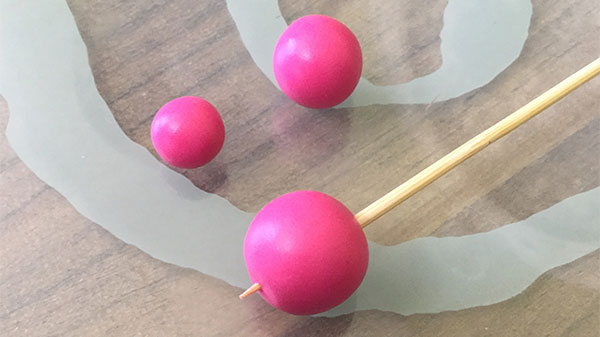
To make the hole in your bead you can use several item. Metal knitting needles, bead piercing pins, or the humble wooden skewer. Hold the ball of clay between your thumb and forefinger and gently twist the skewer, don’t push it through. When you reach the other side, turn the bead around and go back though the same hole with the skewer.
Step 5
To bake your beads you can leave them on your skewer and follow the manufacturers baking instructions found on the packet.

Download Printable Version (PDF)
© 2017 Over the Rainbow. This project may be used for personal use & for reselling of completed item however the printed instructions & images may not be used in classes without prior permission